Vue3和OpenLayers是两个非常强大的前端开发工具,Vue3是一款流行的JavaScript框架,可用于构建现代化的用户界面。而OpenLayers则是一个开源的JavaScript库,专门用于在网页上展示地图和地理数据。结合Vue3和OpenLayers,我们可以实现实时定位功能,使用户能够准确获取自己的位置信息。在这篇文章中我们将探讨如何利用Vue3和OpenLayers来实现实时定位功能,为用户提供更好的定位体验。
目录前言一、定义标签样式二、模拟 GeoJSON 数据三、创建 VerctorLayer四、构建地图五、模拟实时移动总结前言
本系列文章介绍一个简单的实时定位示例,示例的组成主要包括:
服务后端,使用 Java 语言编写,模拟生成 GeoJSON 数据。
前端展示,使用 Vue + OpenLayers ,负责定时向后端服务请求 GeoJSON 数据,并在以标签的形式展现定位数据。
实现的效果:
一、定义标签样式
var image = new CircleStyle({ radius: 5, fill: new Fill({ color: "rgba(255, 0, 0, 1)" }), stroke: new Stroke({ color: "red", width: 1 }) }); var styles = { Point: new Style({ image: image }) }; var styleFunction = function(feature) { return styles[feature.getGeometry().getType()]; };
二、模拟 GeoJSON 数据
var geojsonObject = { type: "FeatureCollection", features: [ { type: "Feature", geometry: { type: "Point", coordinates: [0, 0] } } //此处可以添加更多 feature ] };
三、创建 VerctorLayer
//读取 GeoJSON, 将其作为 vectorSource 的数据源 var vectorSource = new VectorSource({ features: new GeoJSON().readFeatures(geojsonObject) }); var vectorLayer = new VectorLayer({ source: vectorSource, style: styleFunction });
四、构建地图
mounted() { this.map = new Map({ layers: [ new TileLayer({ source: new OSM() }), vectorLayer ], target: "map", view: new View({ center: [0, 0], zoom: 2 }) }); //设置定时任务,调用移动标签方法 setInterval(this.translate, 500); },
五、模拟实时移动
methods: { translate() { //遍历标签, 修改坐标位置 vectorSource.forEachFeature(function(f) { console.log("translate"); //随机产生坐标增量(此处不是坐标绝对值!!!!) var x = Math.random() * 1000000; var y = Math.random() * 1000000; f.getGeometry().translate(x, y); }); } }
总结
以上是一个简单实时定位前端示例,通过模拟的 GeoJSON 对象展示标签,并通过定时任务模拟标签位置变化。下一篇将使用 Java 服务端提供位置数据,完整模拟一个实时定位系统。可以在vue项目中直接运行的完整代码:
<template> <div> <span>hi, map</span> <div id="map" class="map"></div> </div> </template> <script lang="ts"> import "ol/ol.css"; import GeoJSON from "ol/format/GeoJSON"; import Map from "ol/Map"; import View from "ol/View"; import { Circle as CircleStyle, Fill. Stroke, Style } from "ol/style"; import { OSM, Vector as VectorSource } from "ol/source"; import { Tile as TileLayer, Vector as VectorLayer } from "ol/layer"; import Vue from "vue"; var image = new CircleStyle({ radius: 5, fill: new Fill({ color: "rgba(255, 0, 0, 1)" }), stroke: new Stroke({ color: "red", width: 1 }) }); var styles = { Point: new Style({ image: image }) }; var styleFunction = function(feature) { return styles[feature.getGeometry().getType()]; }; var geojsonObject = { type: "FeatureCollection", features: [ { type: "Feature", geometry: { type: "Point", coordinates: [0, 0] } } ] }; var vectorSource = new VectorSource({ features: new GeoJSON().readFeatures(geojsonObject) }); var vectorLayer = new VectorLayer({ source: vectorSource, style: styleFunction }); export default Vue.extend({ data() { return { map: {} }; }, mounted() { this.map = new Map({ layers: [ new TileLayer({ source: new OSM() }), vectorLayer ], target: "map", view: new View({ center: [0, 0], zoom: 2 }) }); setInterval(this.translate, 500); }, methods: { translate() { vectorSource.forEachFeature(function(f) { console.log("translate"); var x = Math.random() * 1000000; var y = Math.random() * 1000000; f.getGeometry().translate(x, y); }); } } }); </script> <style> .map { width: 100%; height: 600px; } </style>
到此这篇关于VUE + OPENLAYERS实现实时定位功能的文章就介绍到这了,更多相关VUE OPENLAYERS 定位内容请搜索以前的文章或继续浏览下面的相关文章希望大家以后多多支持!
以上就是vue3 openlayers定位的全部内容,如果有任何疑问,请按照小编的方法进行操作,希望能够帮助到大家。
 ctrlg定位的功能 Excel中Ctrl G组合键的定位功能的快捷方式
 小米怎么查找别人手机位置 小米手机的定位功能如何实时显示家人的位置
 ps复制粘贴保持一个位置 实现精确复制粘贴并固定位置
 微信定位与实际位置不一致怎么处理 微信位置定位不准确解决方法
 微信定位共享怎么弄 微信如何实时共享位置
 打开微信定位在哪里 如何在微信中打开定位功能
 怎么关掉手机定位 手机如何关闭GPS定位功能
 电脑定时重启命令 怎样用命令行实现电脑定时重启
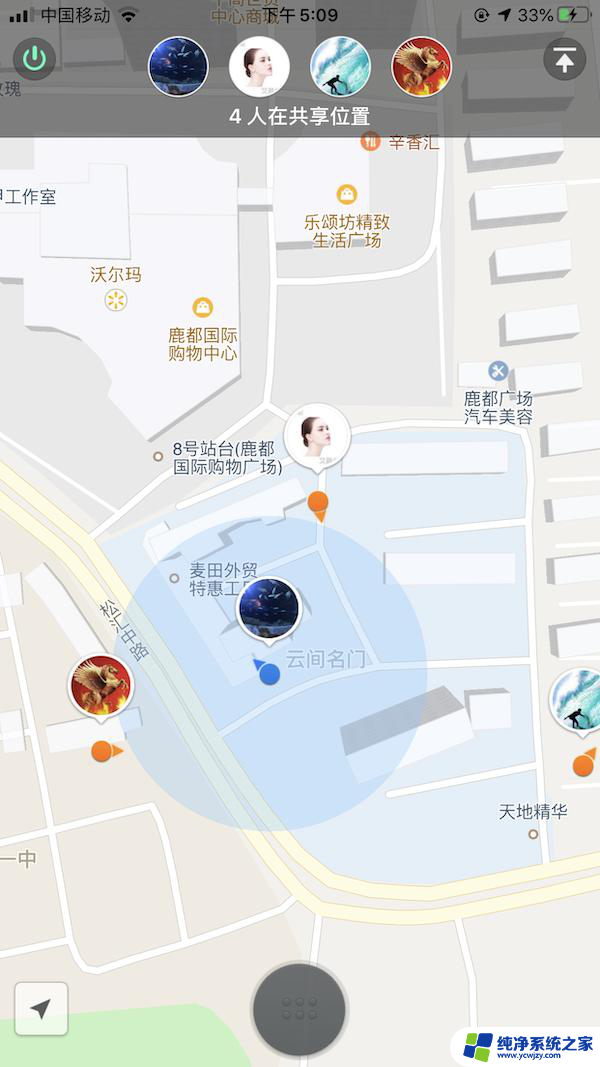 怎么虚拟共享实时位置 微信共享实时位置如何设置虚拟位置
 发抖音怎么定位自己想要的位置 抖音定位设置自己位置的方法
 如何删除桌面上的小艺建议
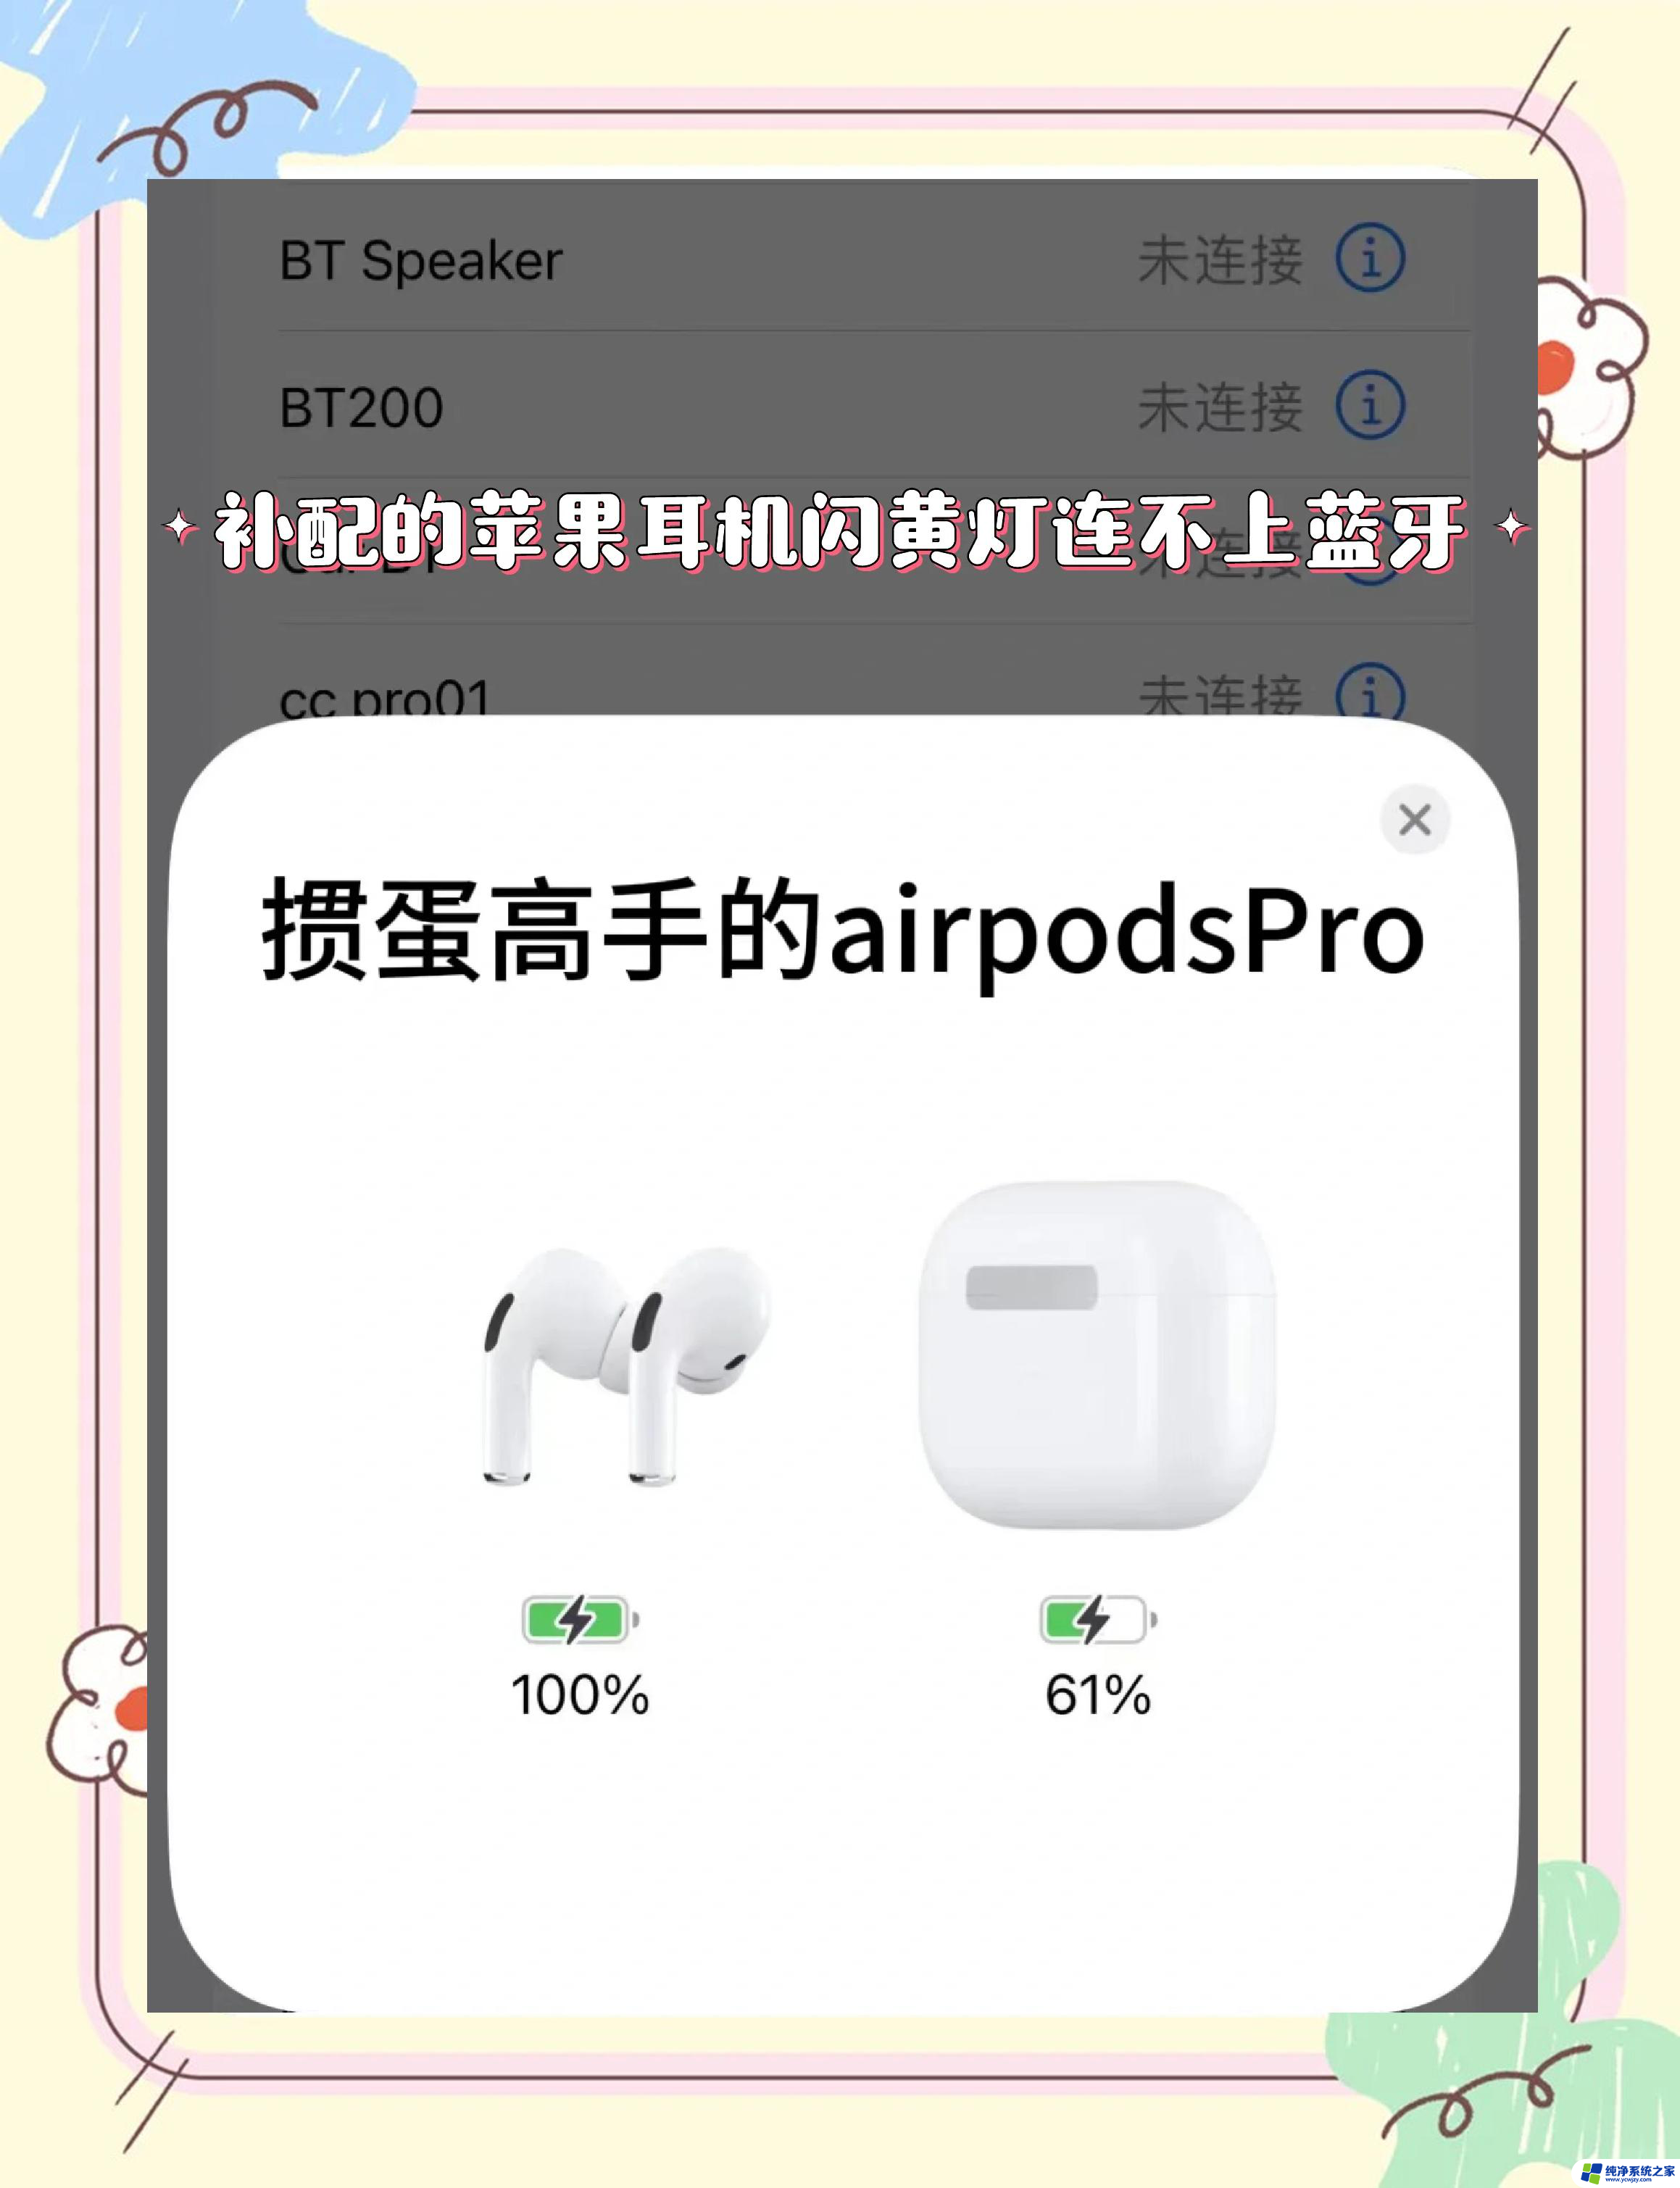 为什么连接不上airpods
 小米平板怎么连接电容笔
 如何看电脑是百兆网卡还是千兆网卡
 省电模式关闭
 电脑右下角字体图标不见了